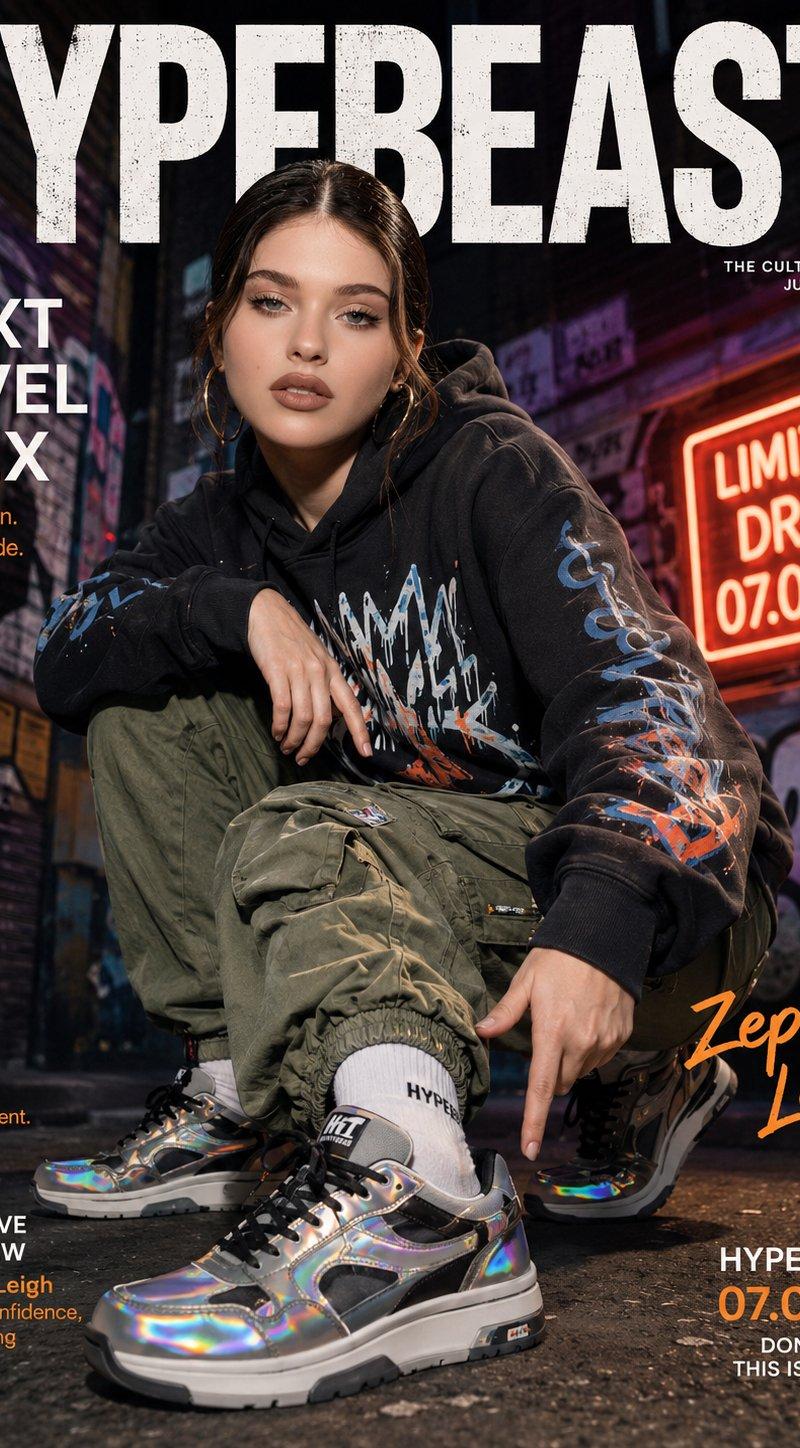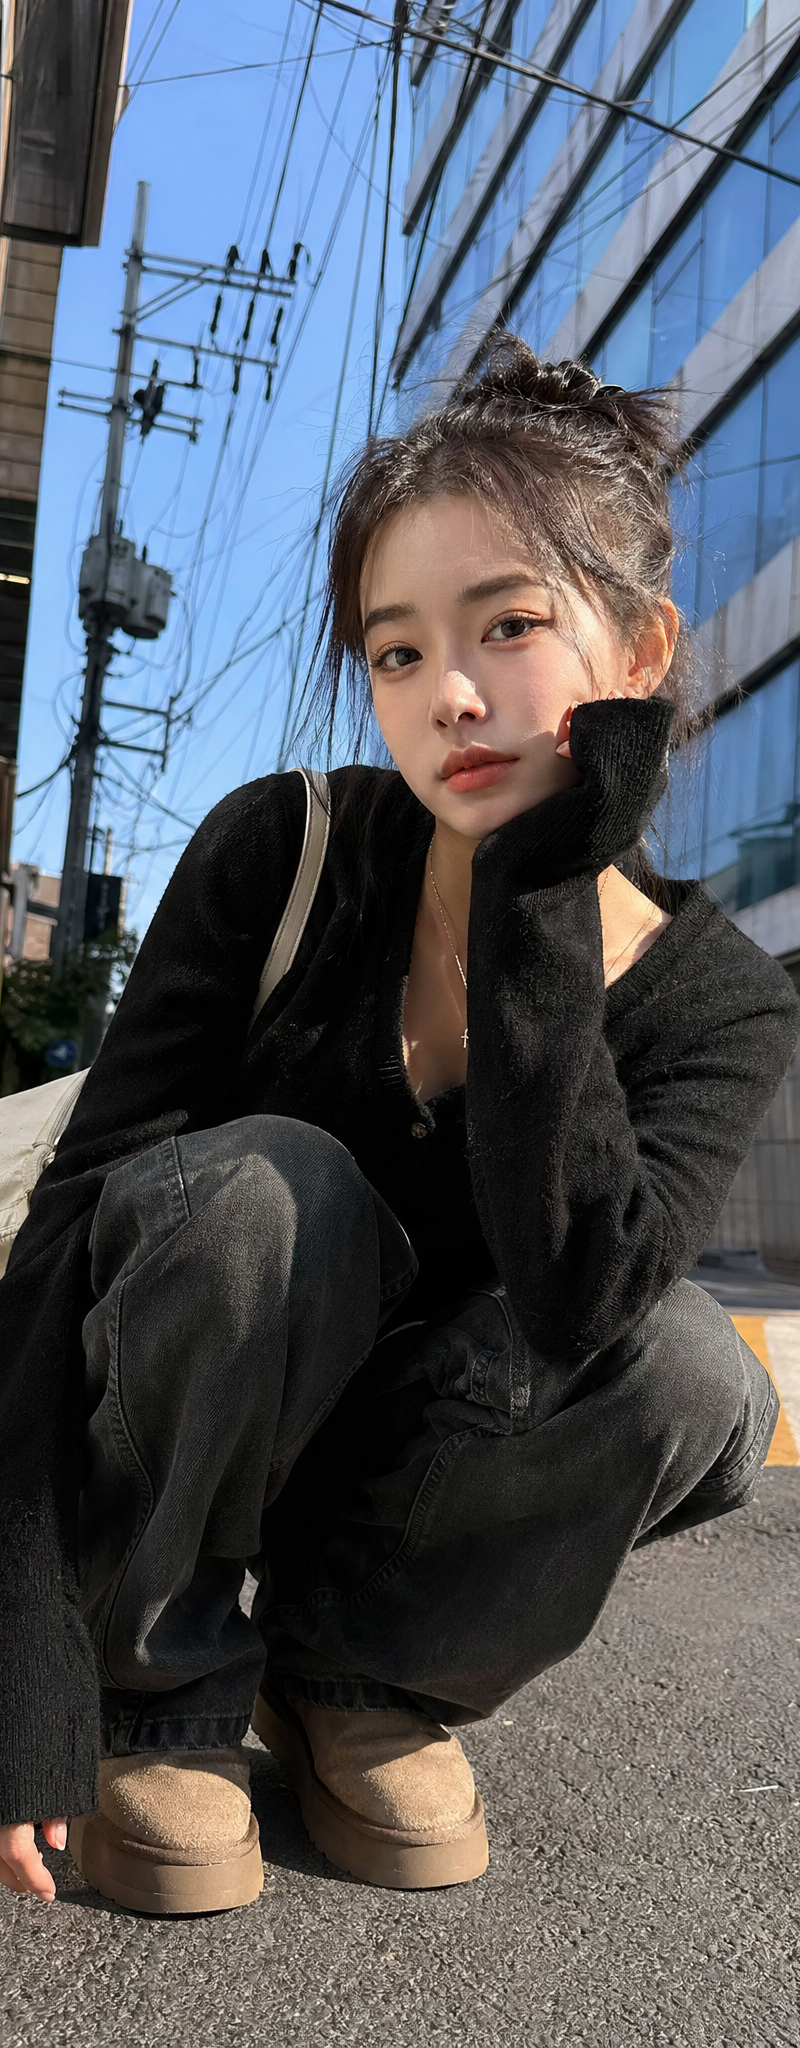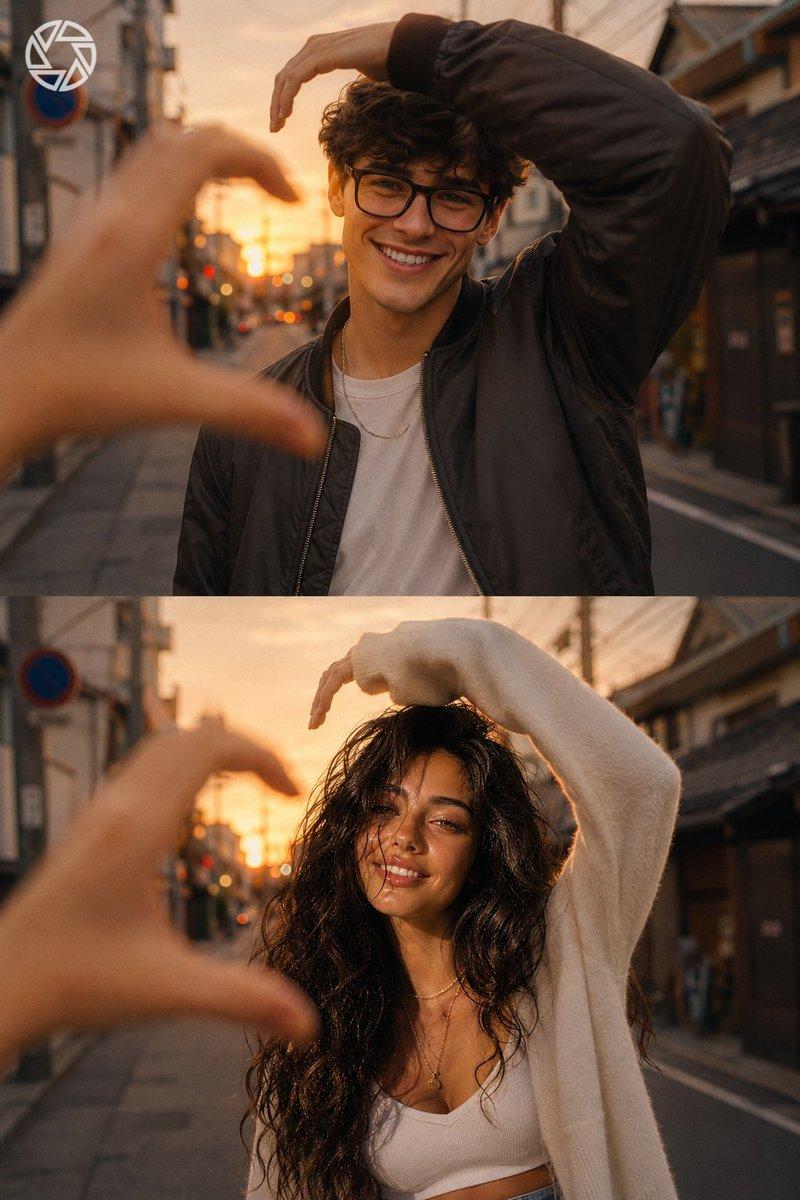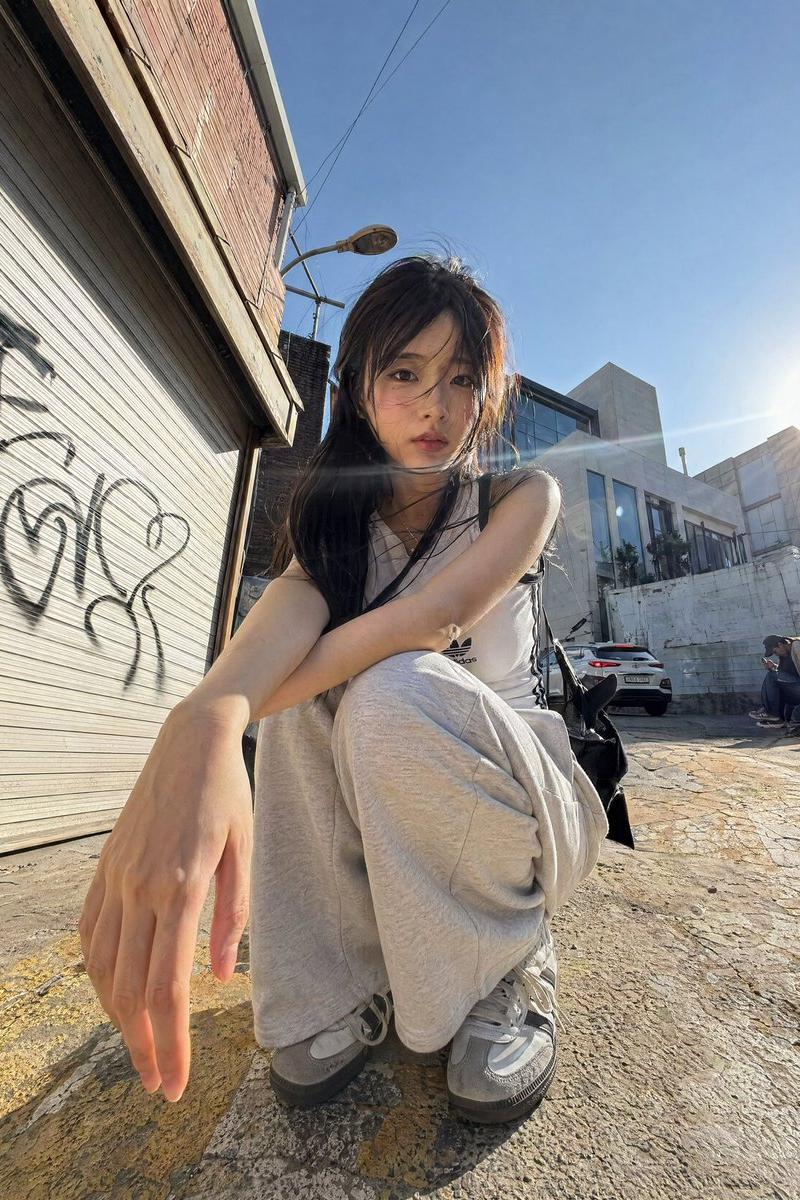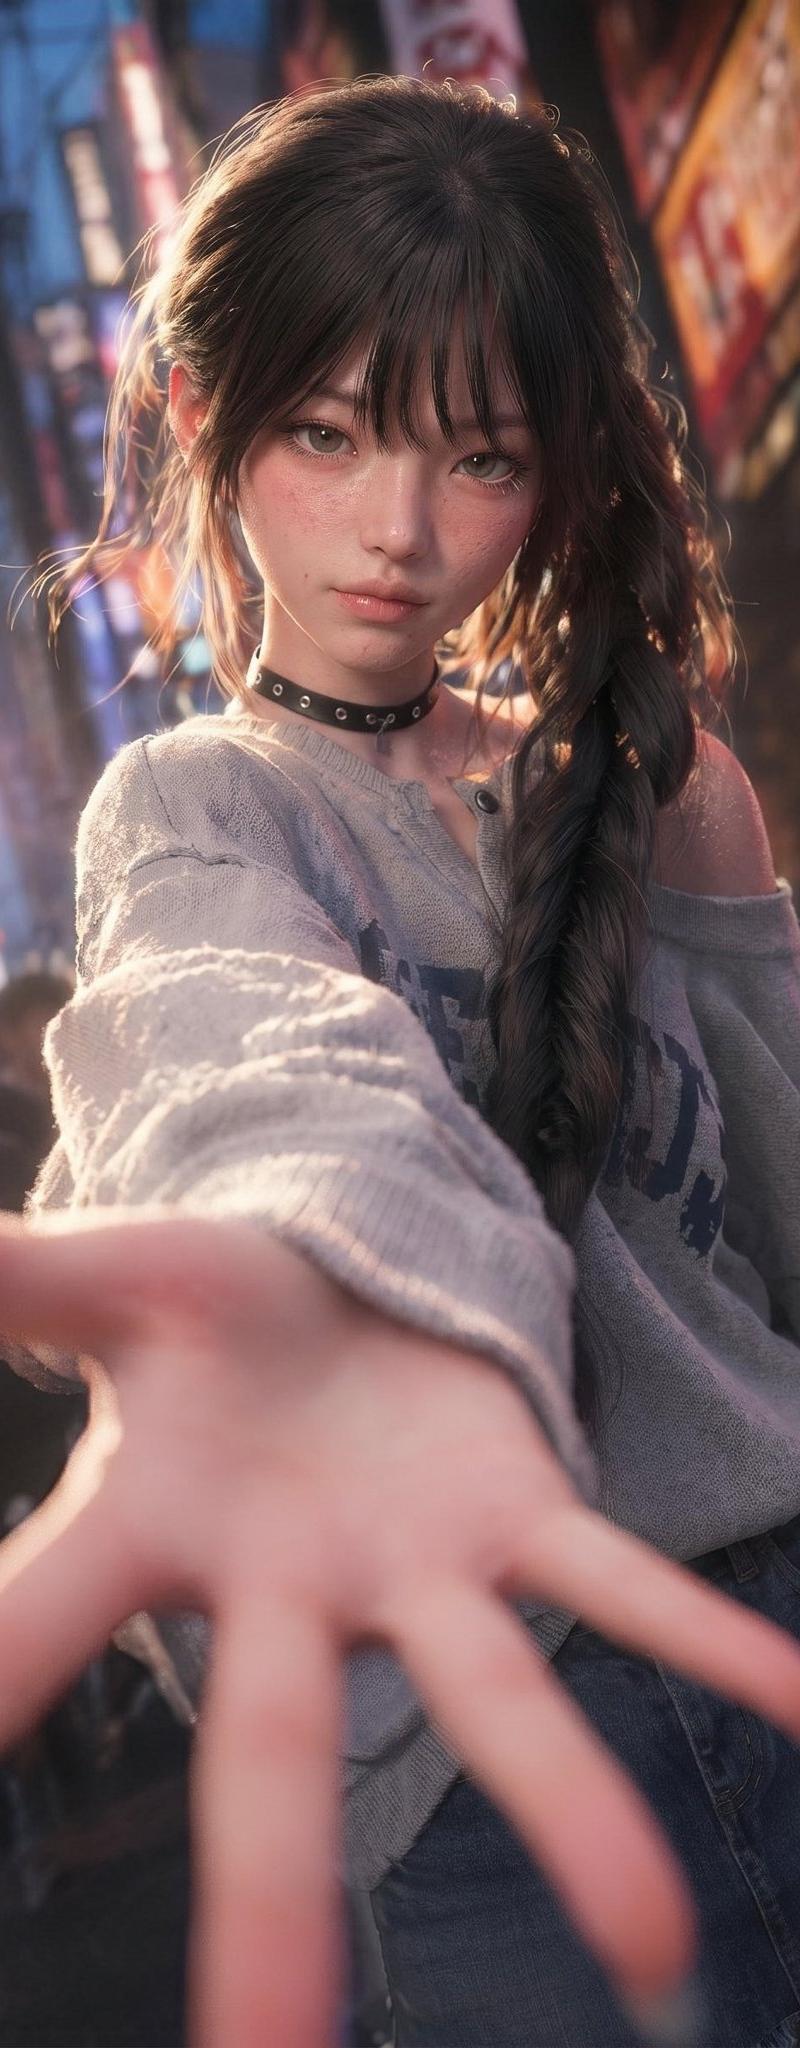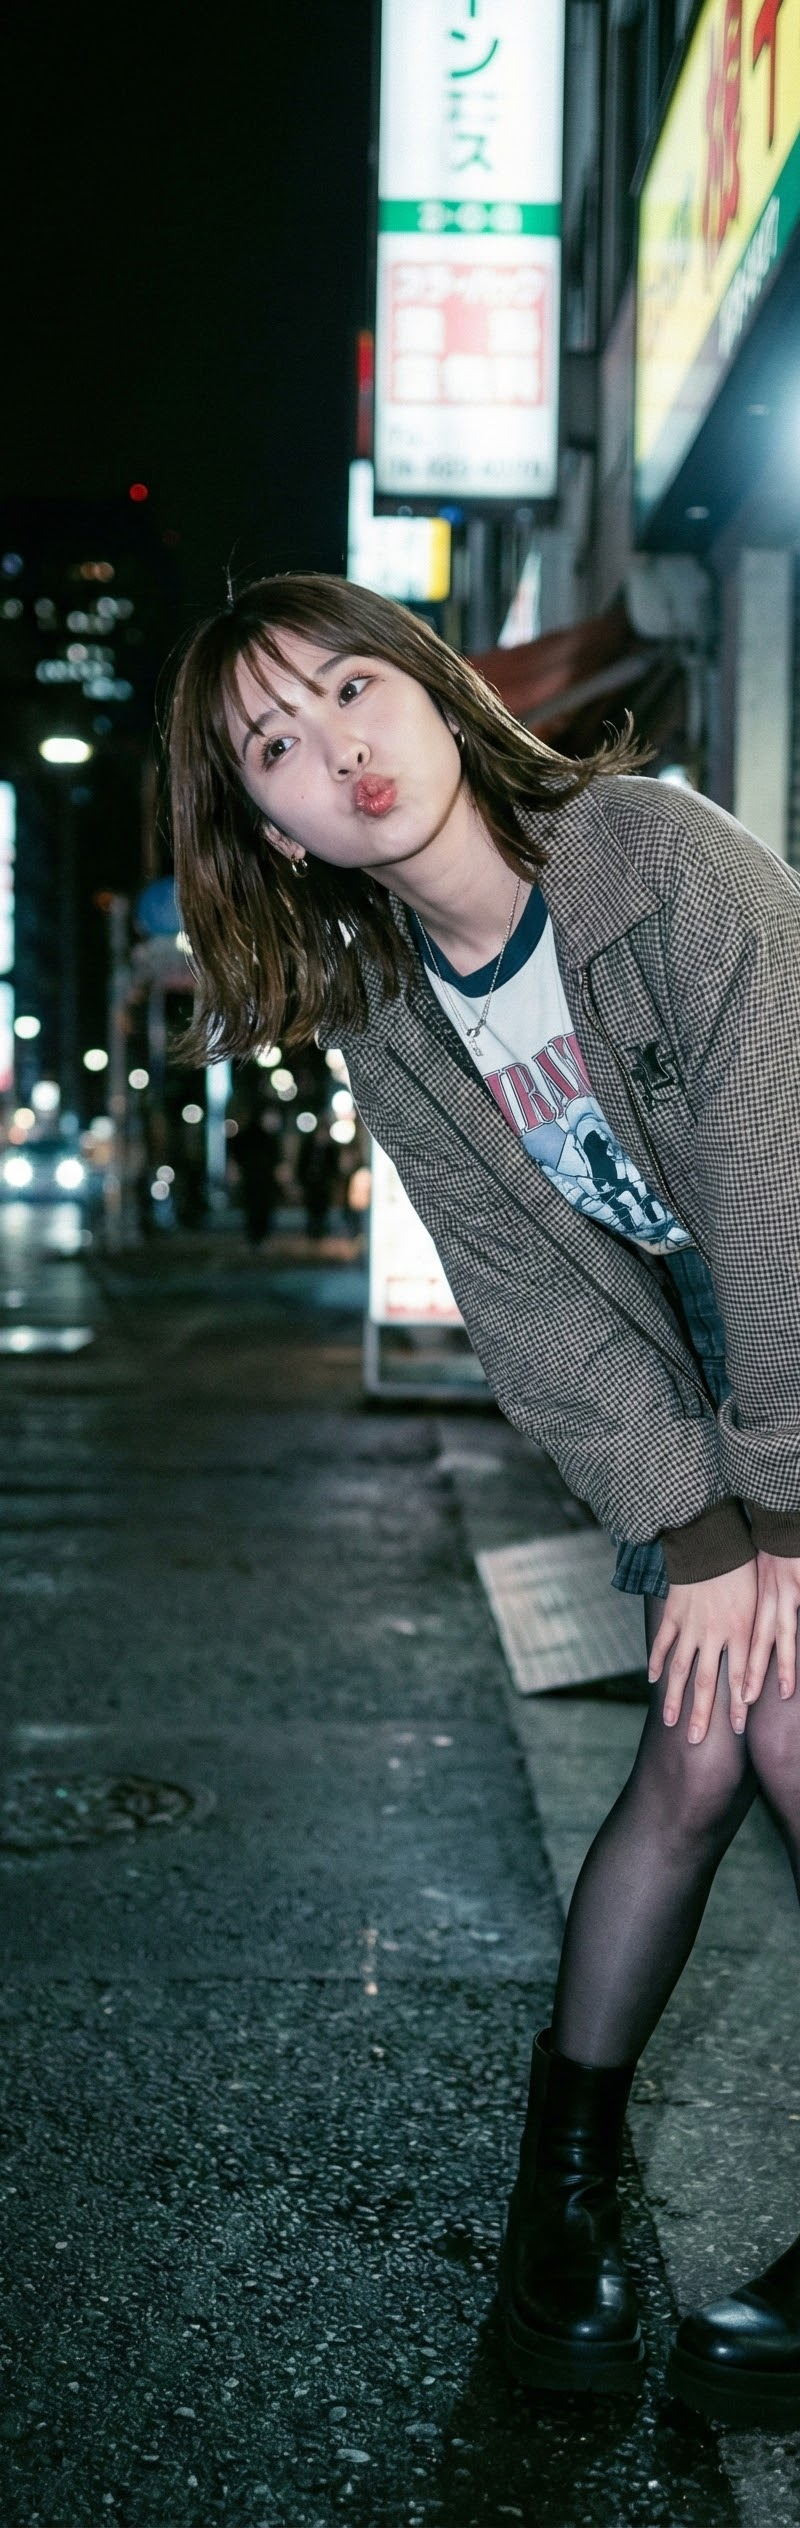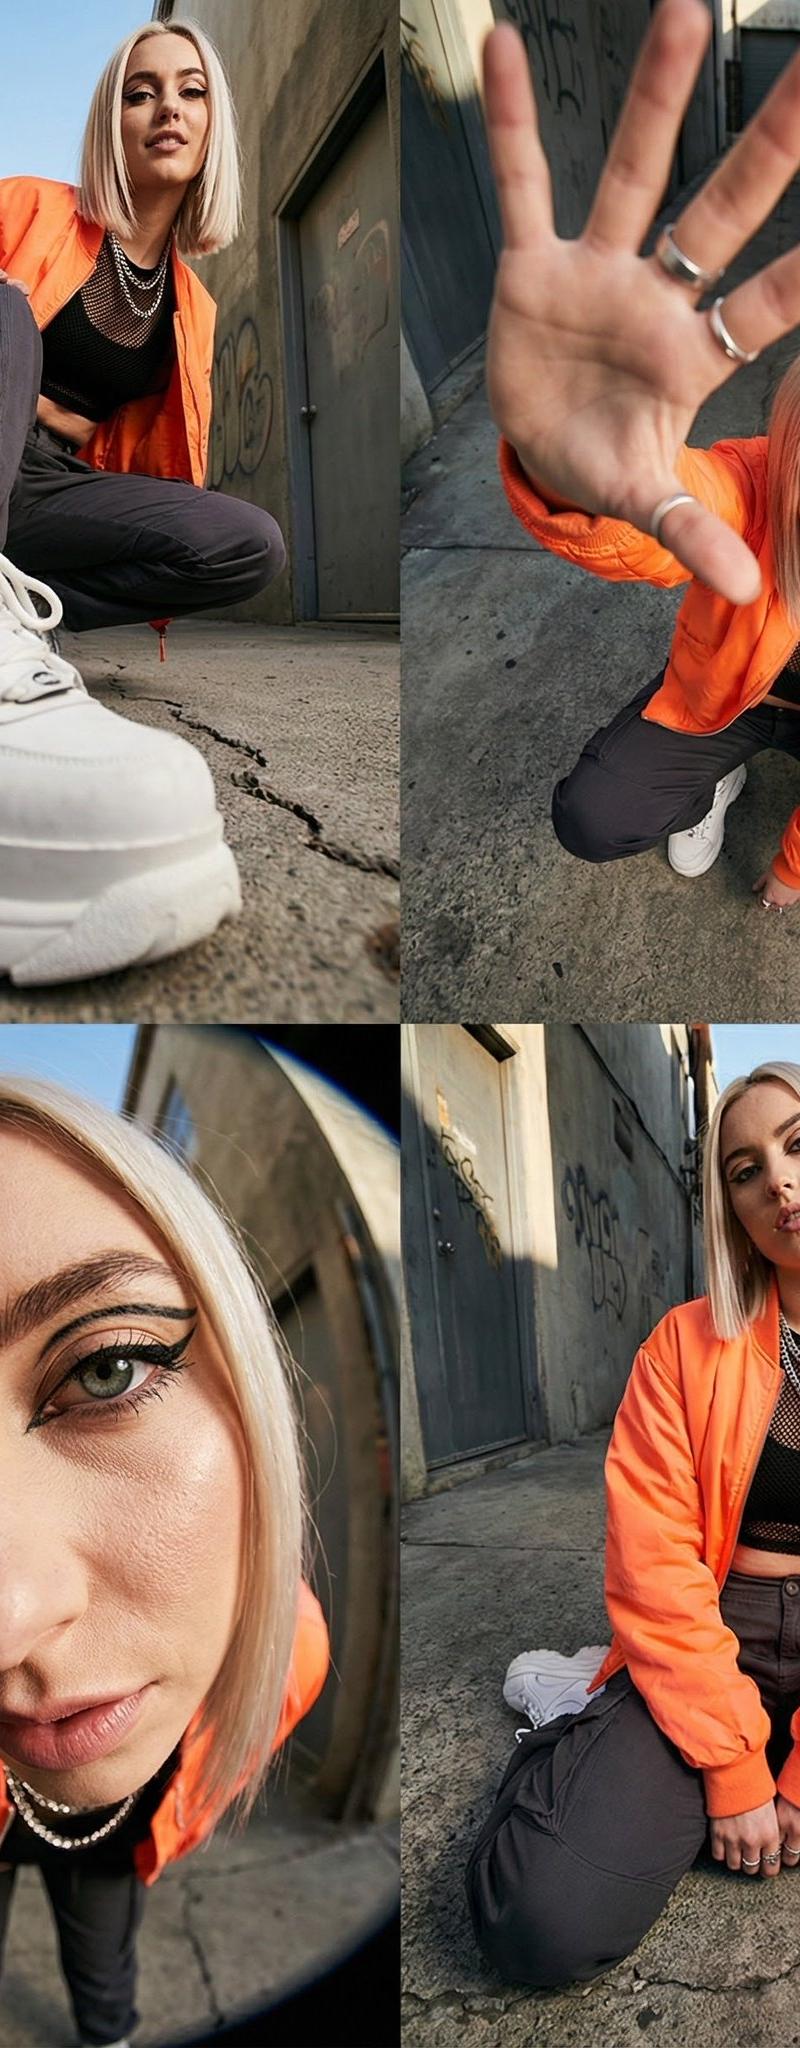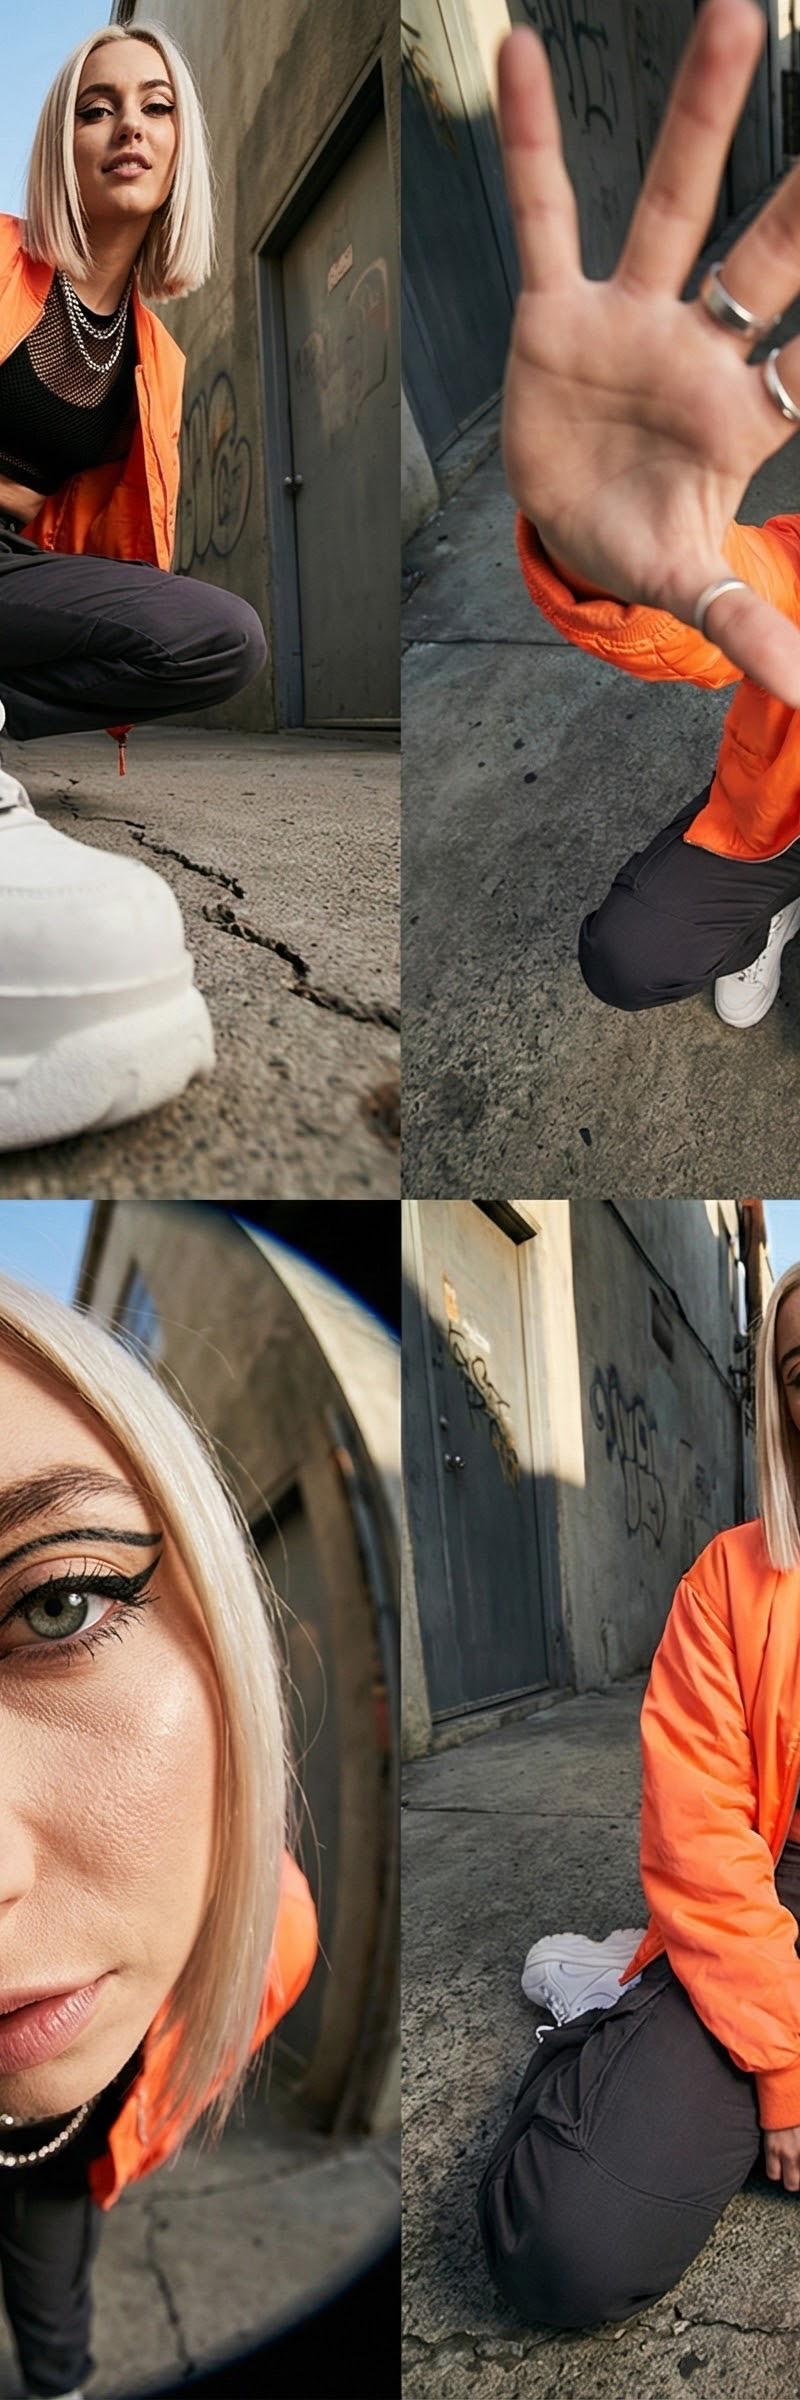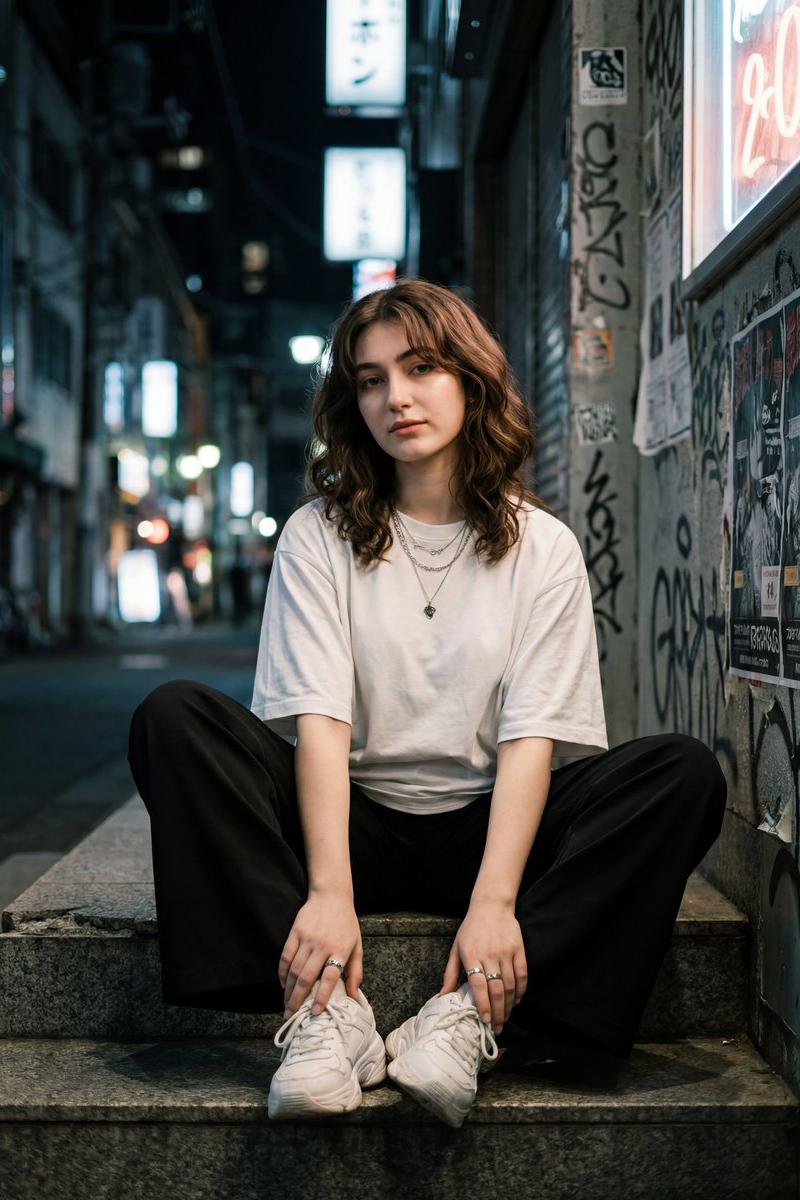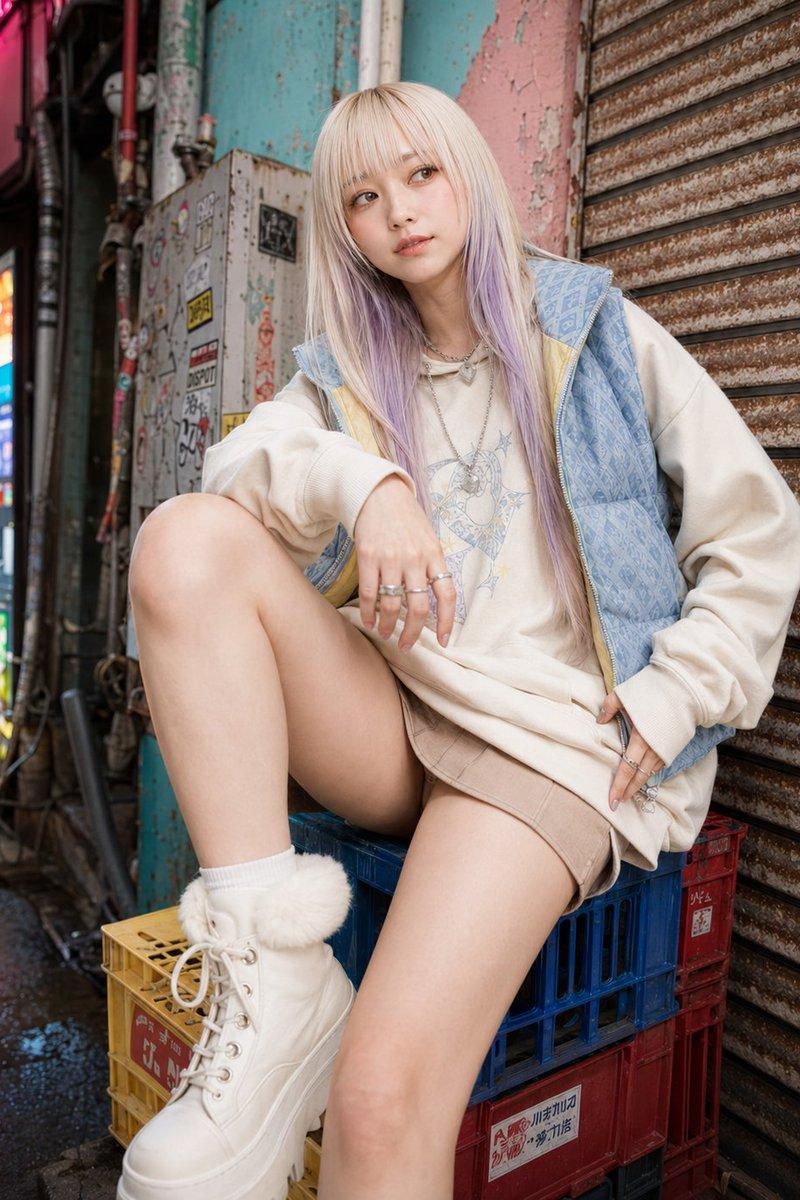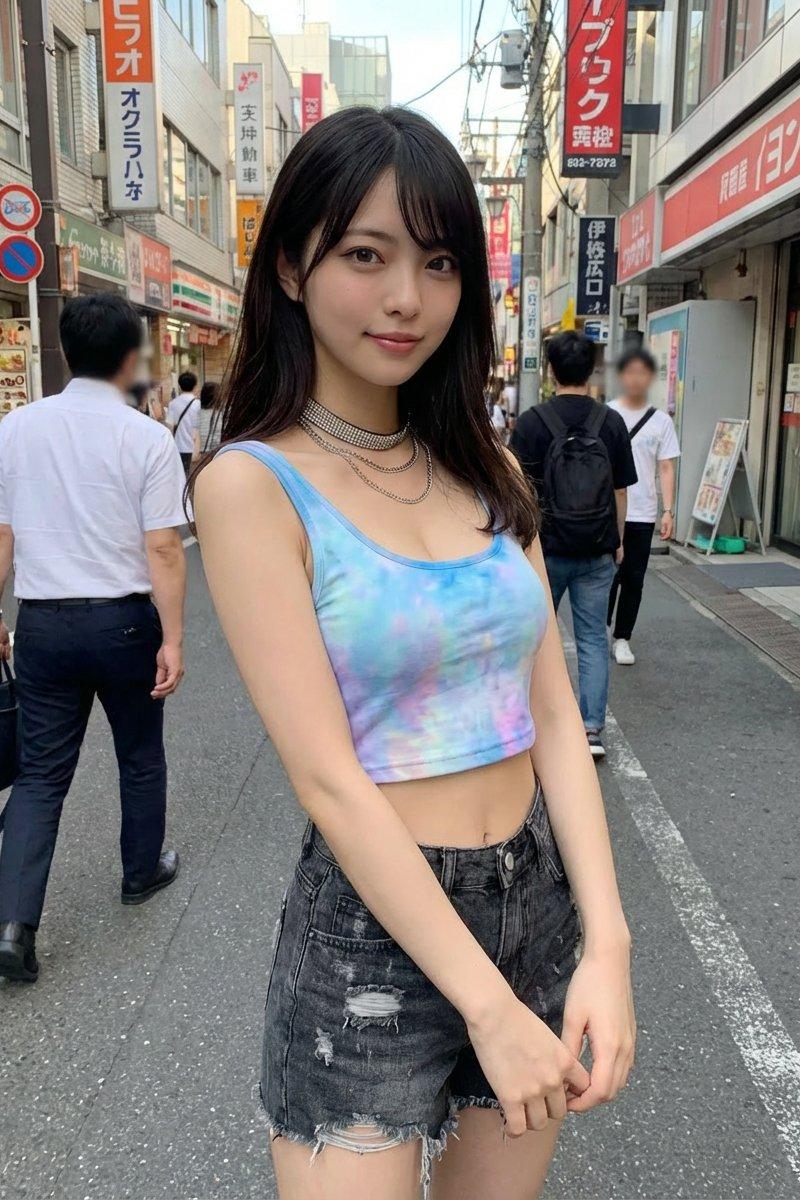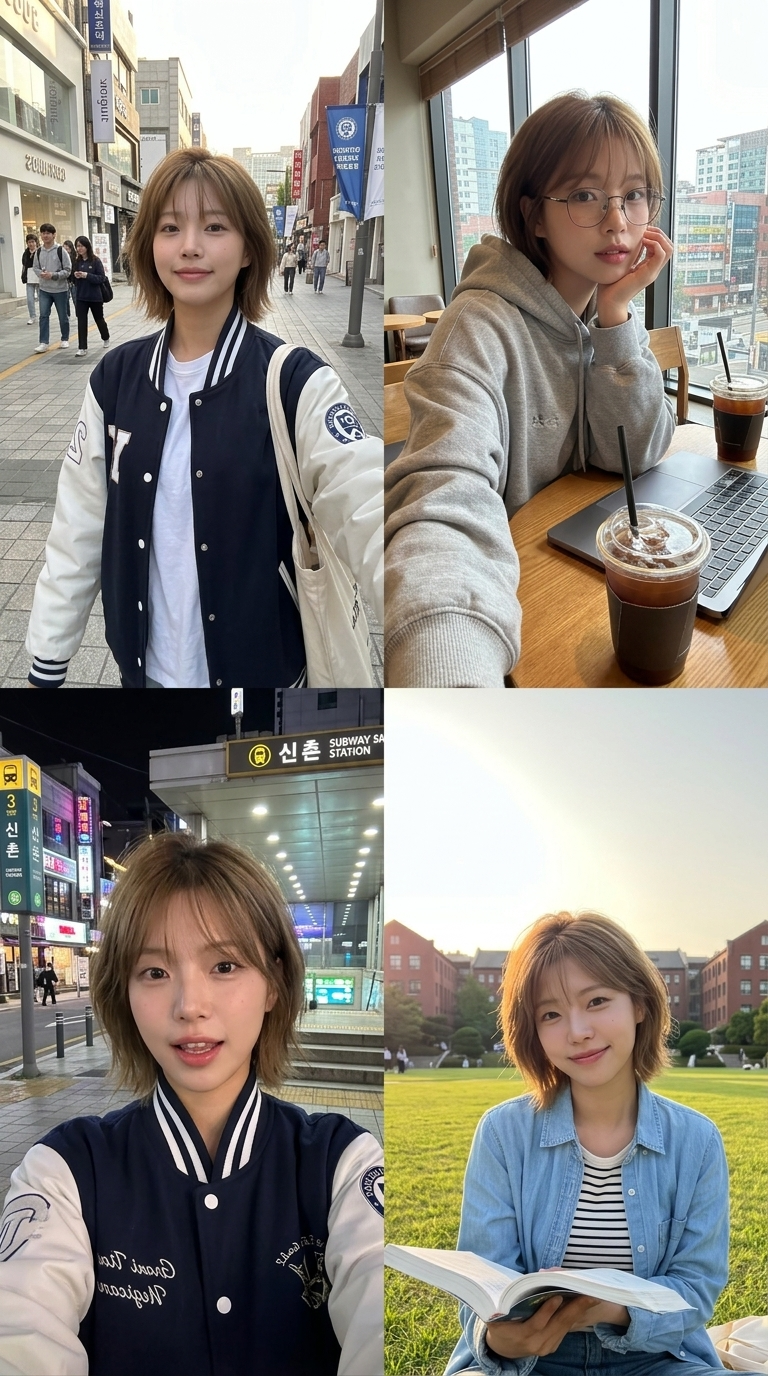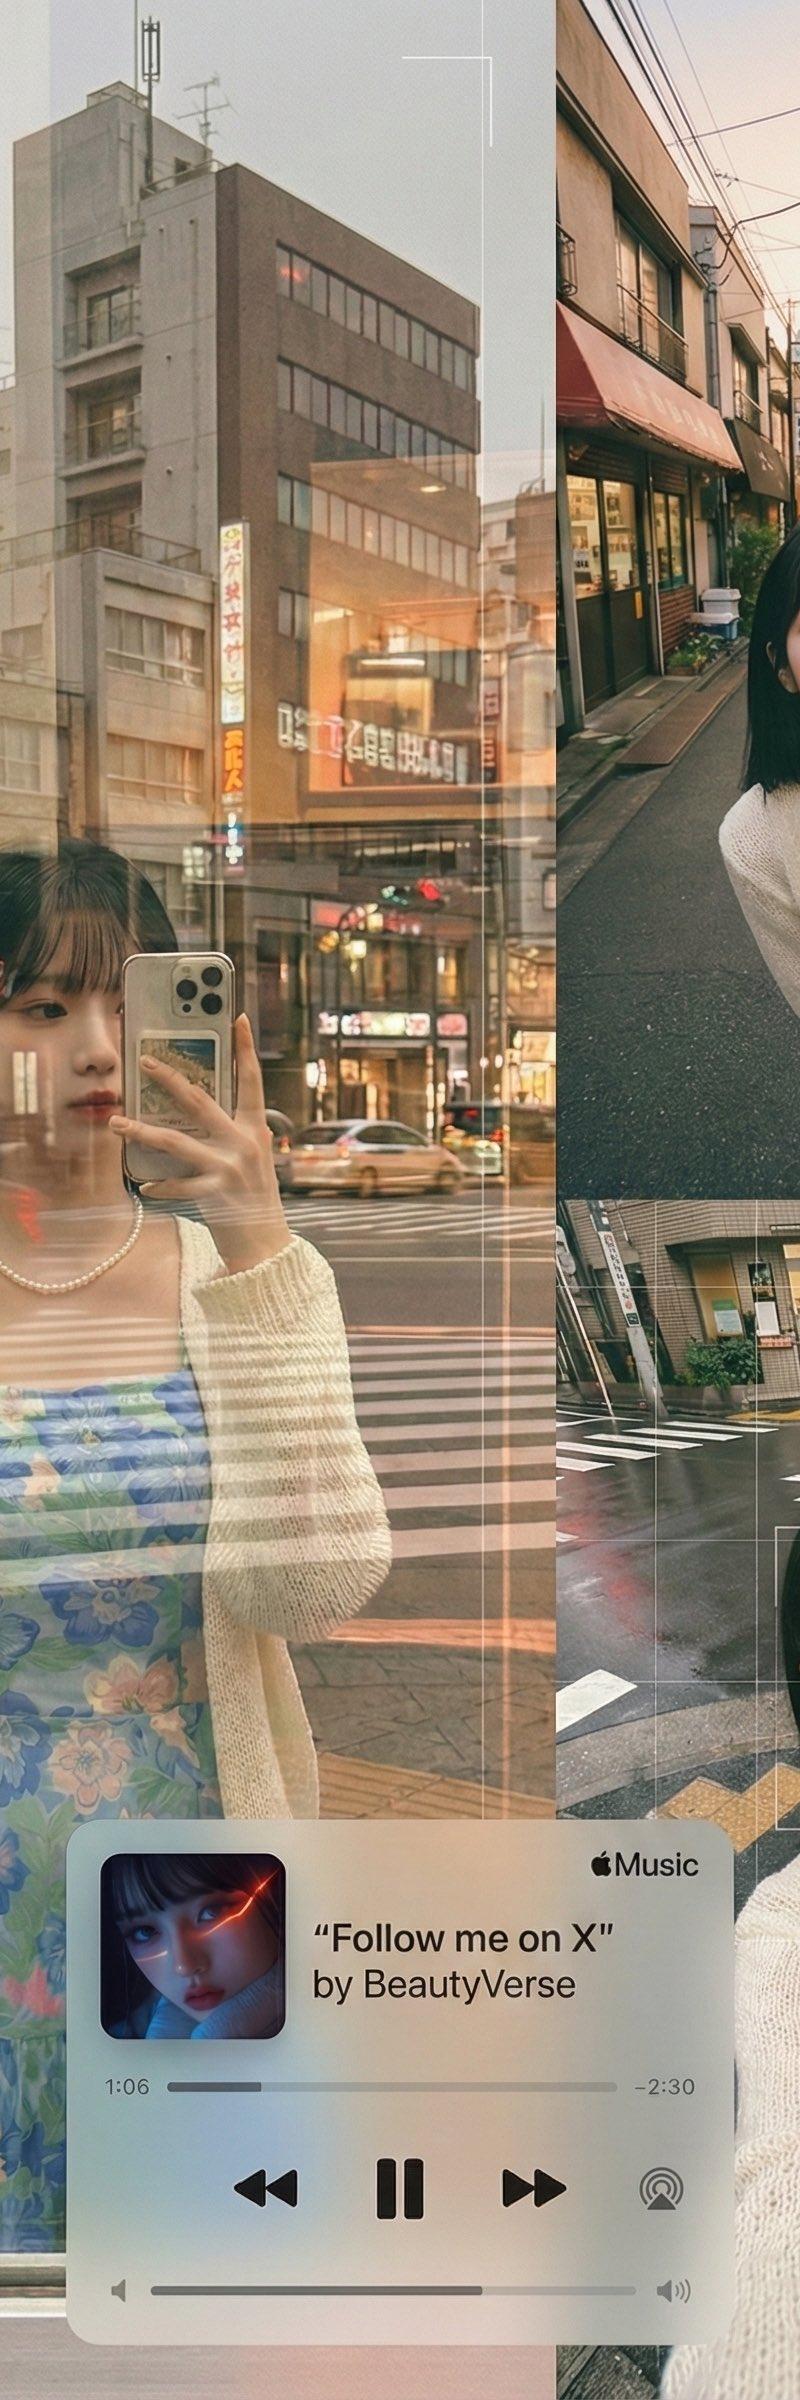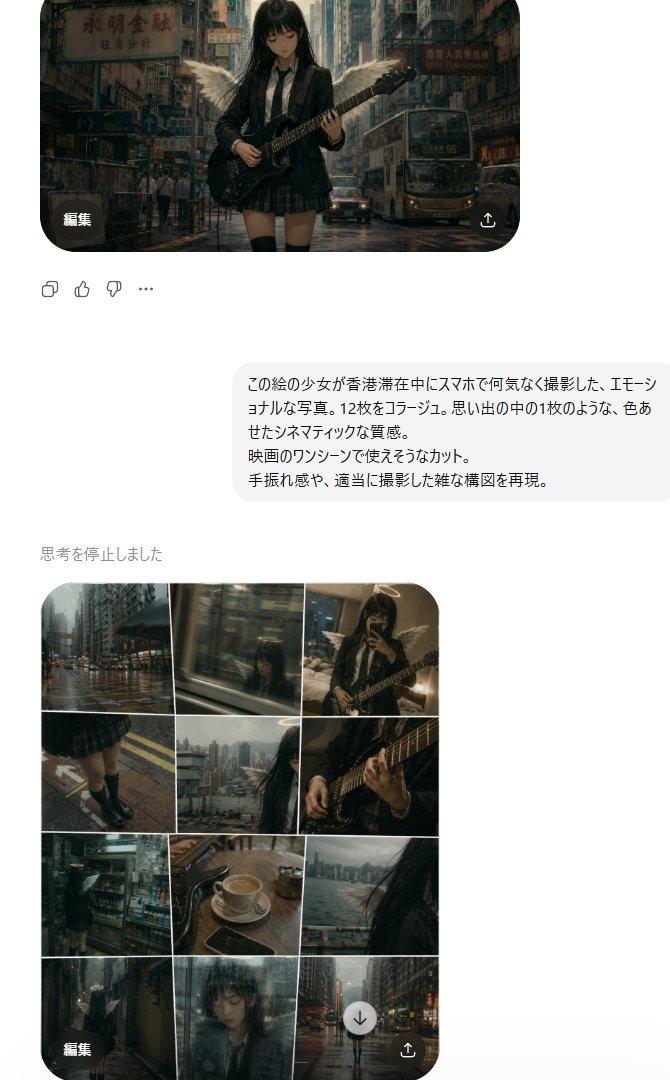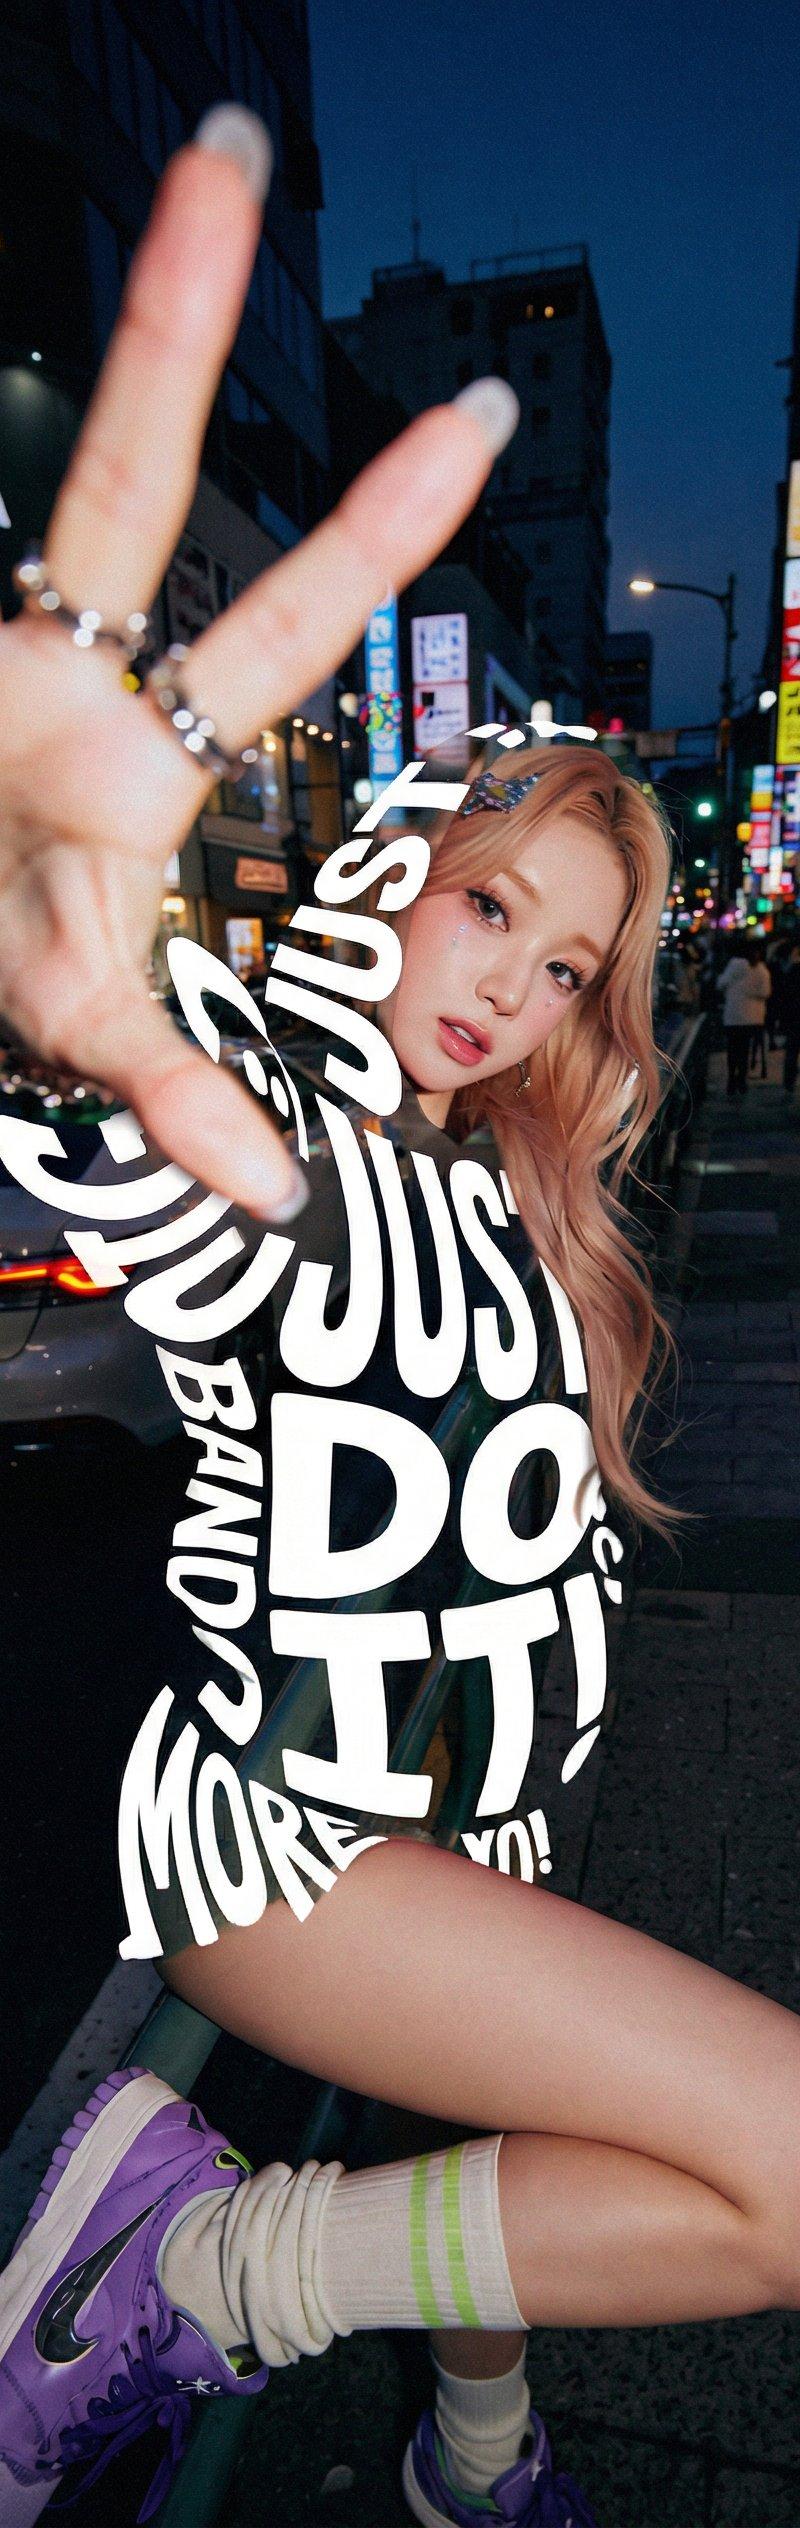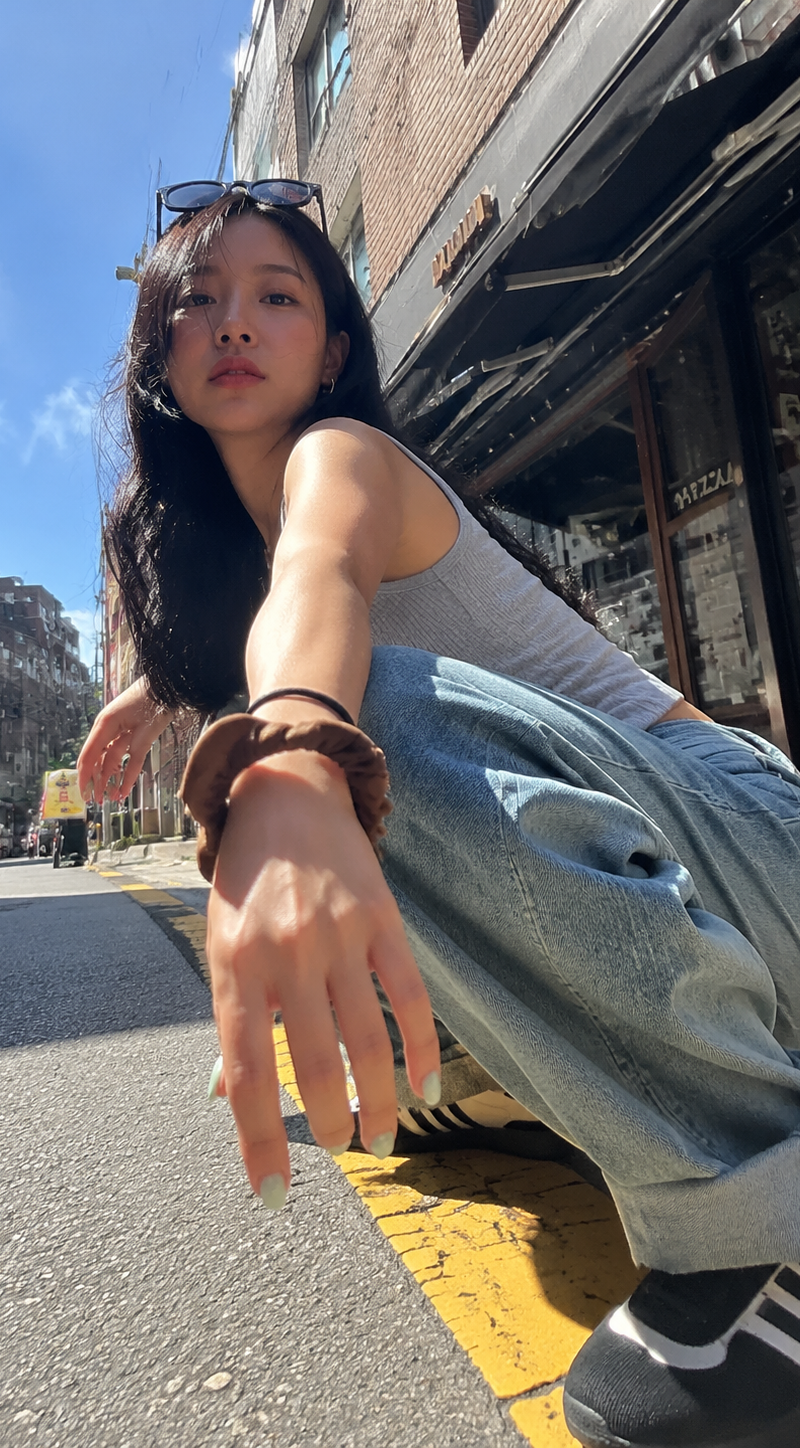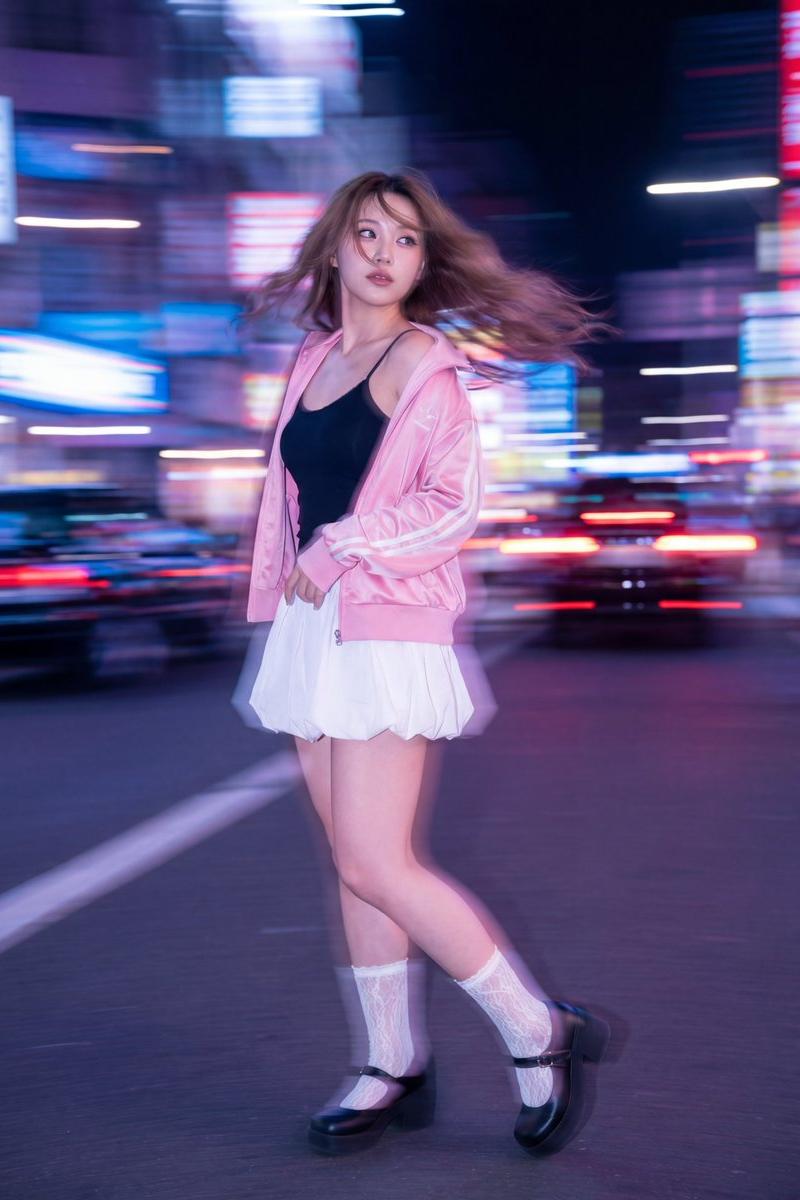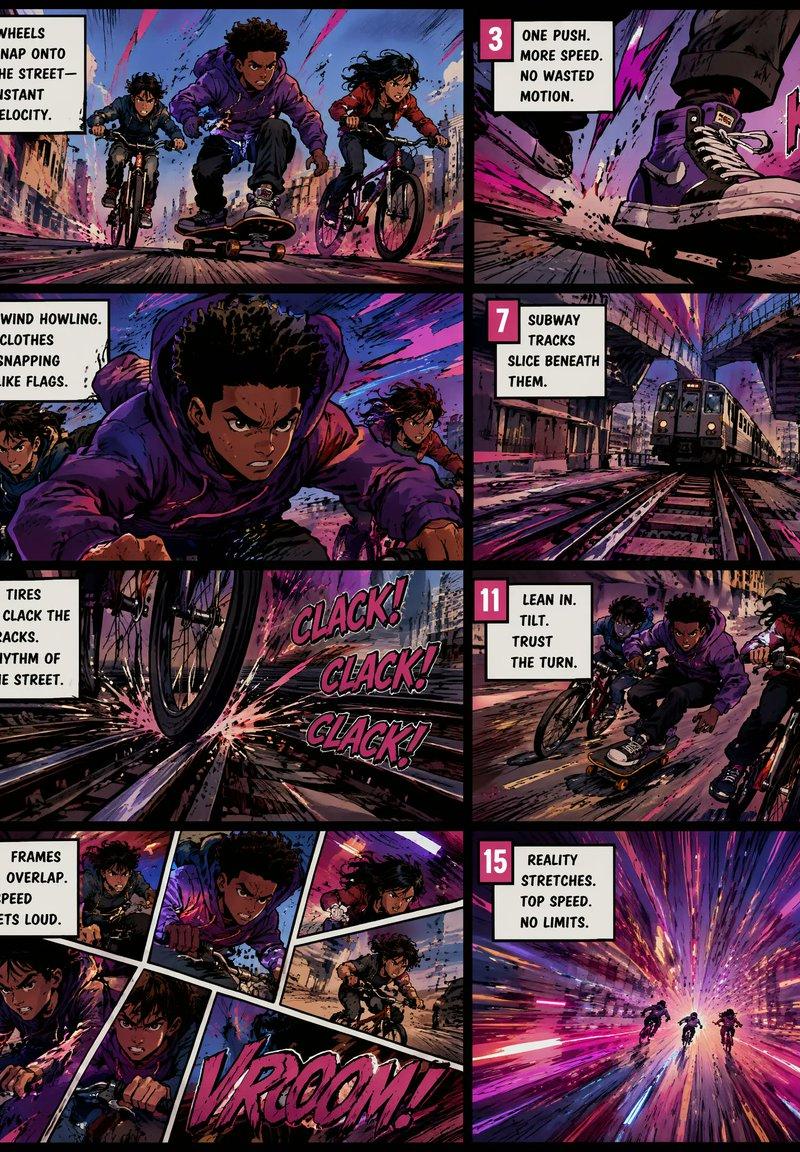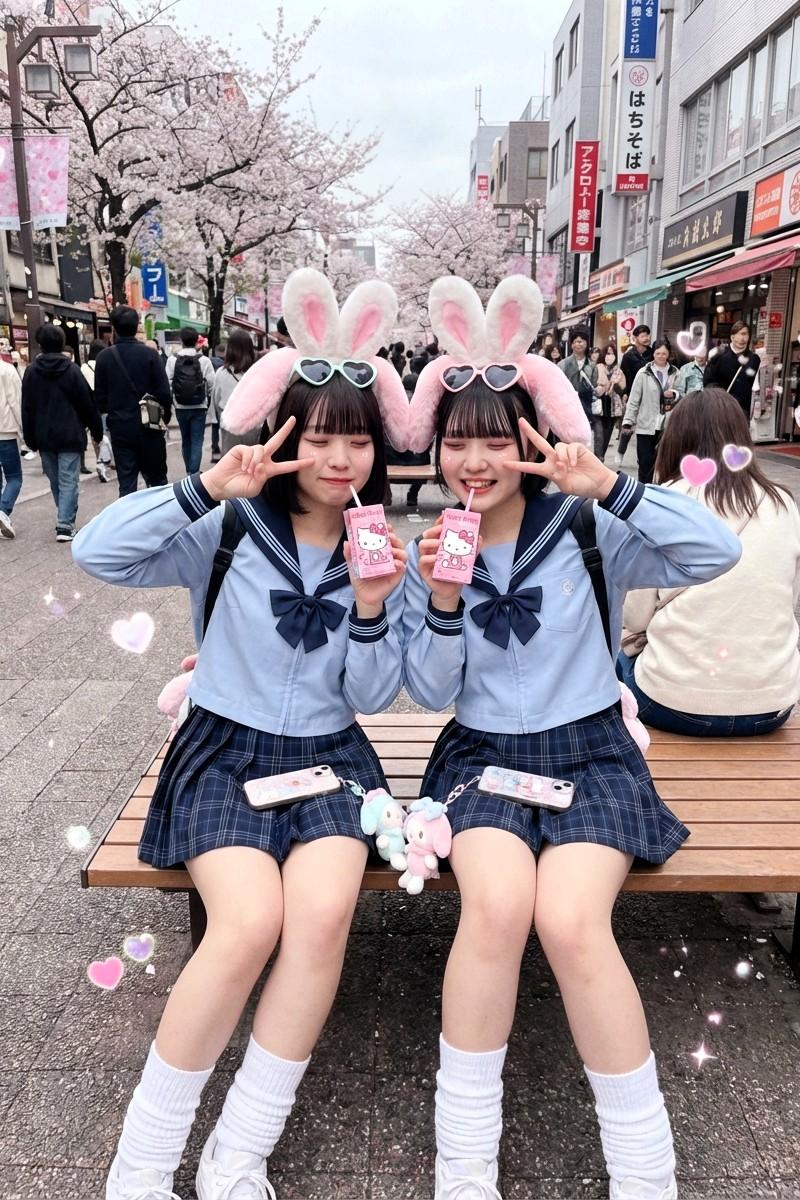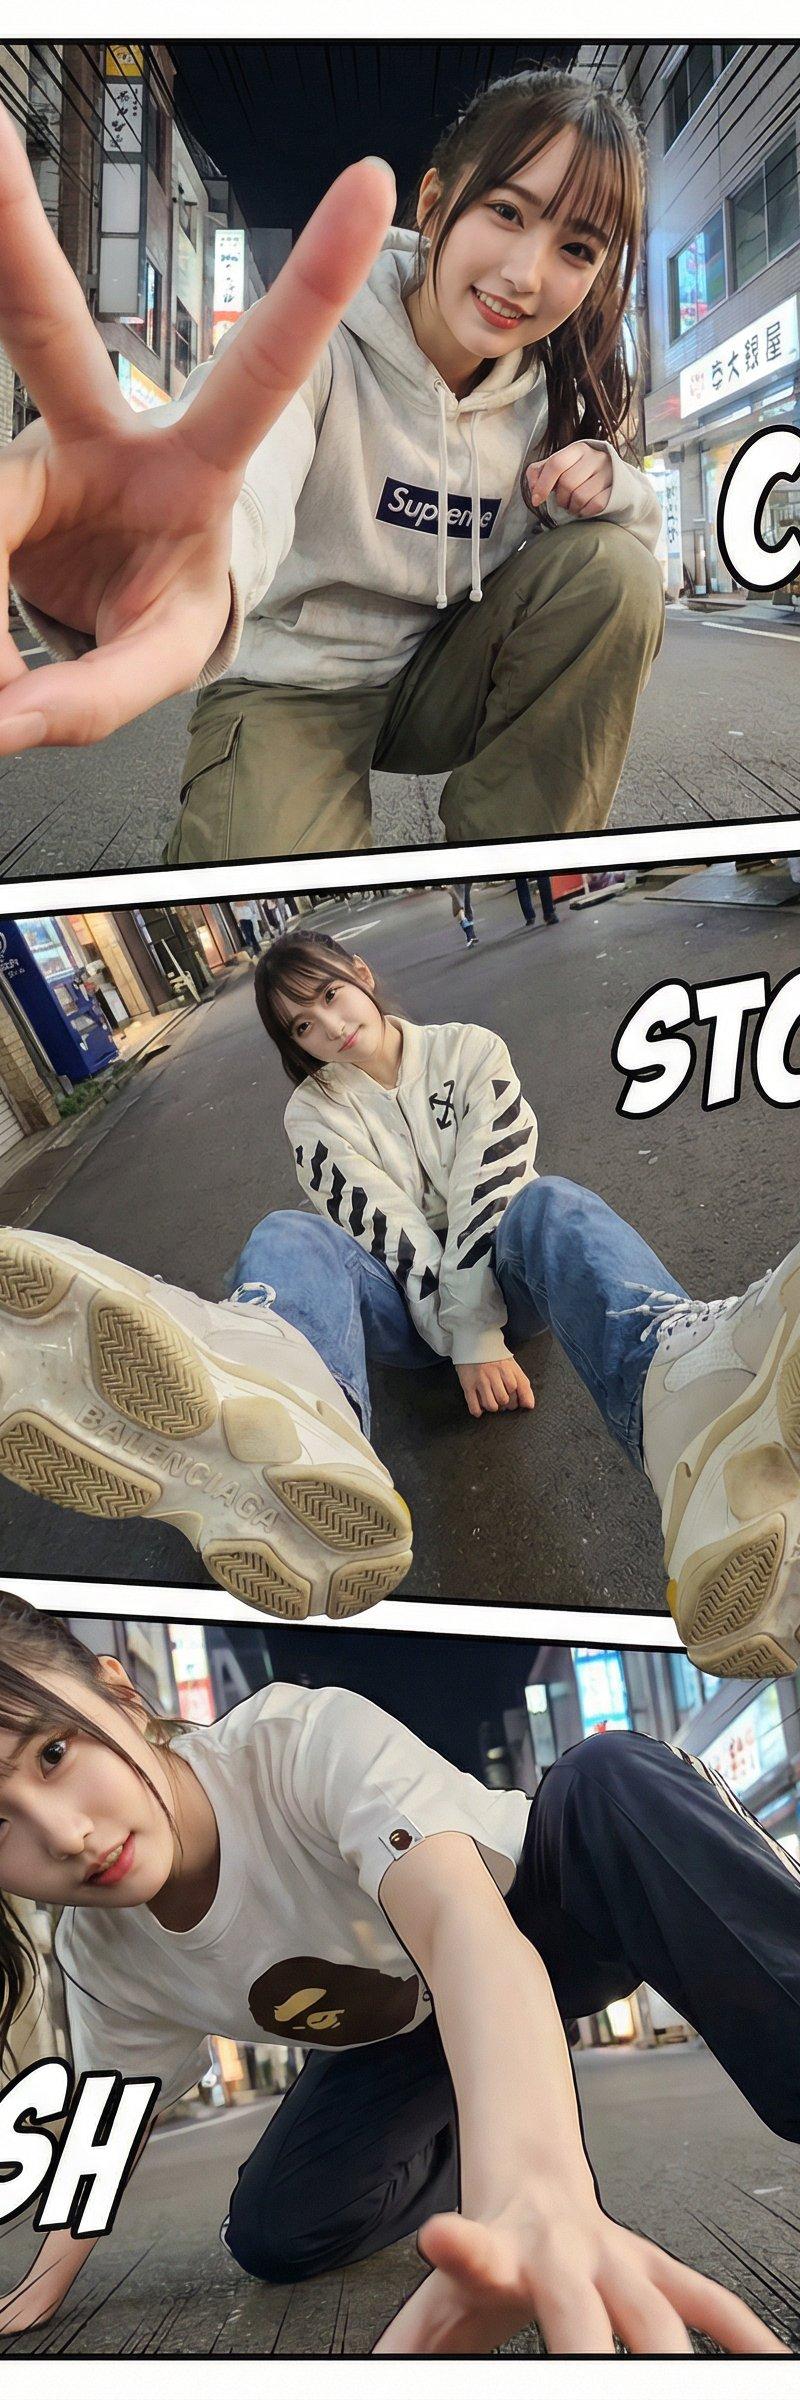
実写風の多角度写真から生成されたマンガ風シーン
Prompt
nano banana pro
①人物の写真をアップロード
②このプロンプトをそのまま貼る
This app uses the motifs in the attached images to generate multi-angle shots and create a three-panel manga-style scene with powerful effects.
Camera and Perspective:
– Always change the camera angle significantly from the original image. For example, use dramatic angles such as:
• Worm's-eye view from directly below
• Bird's-eye view from directly above
• Extremely low angle from the ground
• High angle from directly above
• Dutch angle
– Always add a strong foreshortening effect. The part of the body closest to the lens should appear larger, while the rest of the body should recede in perspective.
– The final result should be fully photorealistic, like a bold fashion or street photo, rather than an illustration or anime.
Body Parts Close to the Lens (One or Two, Sometimes Three):
– For each edit, choose one or two key body parts (three for complex poses) that are very close to the lens.
– Vary the body parts from image to image; avoid using the same body part every time.
– Acceptable body parts close to the lens include:
• One or both hands/fingers extended toward the camera
• One or both feet/shoes/boots close to the lens
• Knees or thighs
• Face very close to the lens
• Shoulders or chest close to the lens, leaning forward
– Each selected body part should be very close to the lens, almost touching it, to show skin texture, fabric texture, and realistic wide-angle distortion.
Poses and Full Body (Complex and Diverse):
– Create strong, cool, and dynamic poses that match the extreme perspective.
– Use a variety of poses randomly, such as:
• Standing with one leg or arm facing the camera
• Crouching or squatting on the ground
• Sitting on the floor or on an object
• Lying on the ground with legs or feet facing the lens
• Leaning powerfully forward toward the camera
• Twisting your body, crossing your legs, or arching your back to create more dynamic lines
– Complex poses are also acceptable, such as:
• Holding both hands near the lens, making peace signs, triangles, frames, or pointing toward the viewer
• Pointing both feet toward the lens
• One hand and one foot both looming large in the foreground
• Face close to the lens, with the hand or foot in perspective
– Maintain realistic anatomy, even with extreme foreshortening.
Angle and Posture (Random):
– Randomize camera angles and orientations (up, down, side, Dutch tilt) while maintaining visual balance and strength in the composition.
Lighting and Rendering:
– Maintain realistic shadows and contact points with the ground or floor. – High resolution, sharp details, and clear depictions of skin texture, fabric weave, and material highlights.
Variation and Randomness:
– Each edit should be clearly different from the original image and other edits in the following ways:
• Camera angle
• Pose type
• Body part closest to the lens
• Orientation (straight on, diagonal, above, below).
– Avoid repeating the same exact close-up of one leg; incorporate a variety of dynamic poses and angles.
Strict Rules:
– Maintain 100% the style of the attached image.
【セリフ入り】
Multi-angle shots are generated using the attached image as a motif, creating a powerful three-panel manga-style scene with Japanese dialogue.
Camera and Perspective:
– Always change the camera angle significantly from the original image. For example, use dramatic angles such as:
• Worm's-eye view from directly below
• Bird's-eye view from directly above
• Extremely low angle from the ground
• High angle from directly above
• Dutch angle
– Always add a strong foreshortening effect. The part of the body closest to the lens should appear larger, while the rest of the body should recede in perspective.
– The final result should be fully photorealistic, like a bold fashion or street photo, rather than an illustration or anime.
Body Parts Close to the Lens (One or Two, Sometimes Three):
– For each edit, choose one or two key body parts (three for complex poses) that are very close to the lens.
– Vary the body parts from image to image; avoid using the same body part every time.
– Acceptable body parts close to the lens include:
• One or both hands/fingers extended toward the camera
• One or both feet/shoes/boots close to the lens
• Knees or thighs
• Face very close to the lens
• Shoulders or chest close to the lens, leaning forward
– Each selected body part should be very close to the lens, almost touching it, to show skin texture, fabric texture, and realistic wide-angle distortion.
Poses and Full Body (Complex and Diverse):
– Create strong, cool, and dynamic poses that match the extreme perspective.
– Use a variety of poses randomly, such as:
• Standing with one leg or arm facing the camera
• Crouching or squatting on the ground
• Sitting on the floor or on an object
• Lying on the ground with legs or feet facing the lens
• Leaning powerfully forward toward the camera
• Twisting your body, crossing your legs, or arching your back to create more dynamic lines
– Complex poses are also acceptable, such as:
• Holding both hands near the lens, making peace signs, triangles, frames, or pointing toward the viewer
• Pointing both feet toward the lens
• One hand and one foot both looming large in the foreground
• Face close to the lens, with the hand or foot in perspective
– Maintain realistic anatomy, even with extreme foreshortening.
Angle and Posture (Random):
– Randomize camera angles and orientations (up, down, side, Dutch tilt) while maintaining visual balance and strength in the composition.
Lighting and Rendering:
– Maintain realistic shadows and contact points with the ground or floor. – High resolution, sharp details, and clear depictions of skin texture, fabric weave, and material highlights.
Variation and Randomness:
– Each edit should be clearly different from the original image and other edits in the following ways:
• Camera angle
• Pose type
• Body part closest to the lens
• Orientation (straight on, diagonal, above, below).
– Avoid repeating the same exact close-up of one leg; incorporate a variety of dynamic poses and angles.
Strict Rules:
– Maintain 100% the style of the attached image.
実写にならない時は「– Do NOT switch to painting, illustration, or anime style; keep it photorealistic.」をプロンプトの一番下に追加してください。
- Category
- Photography & Realism
- Model
- Nano Banana Pro
- Creator
- 俺の娘たち / AIエンジニア
- Source language
- zh-CN
- Source ID
- photorealistic-multi-angle-scene-generated-from-real-life-photo
Views0