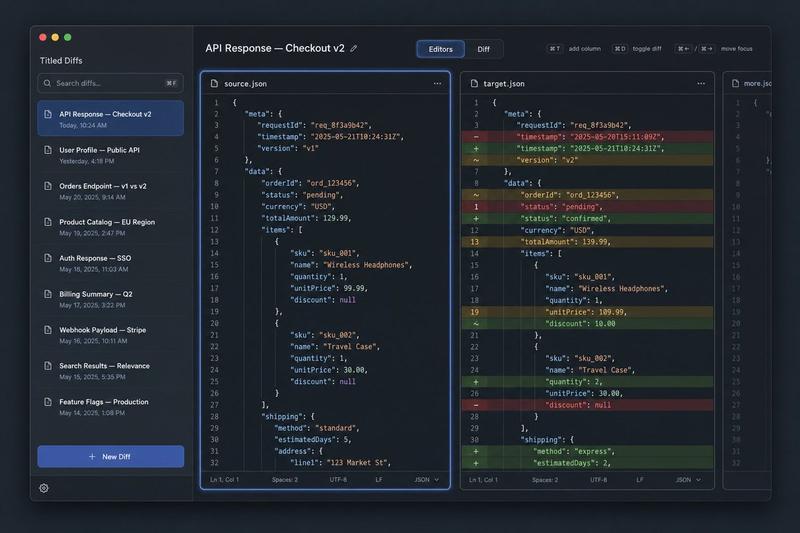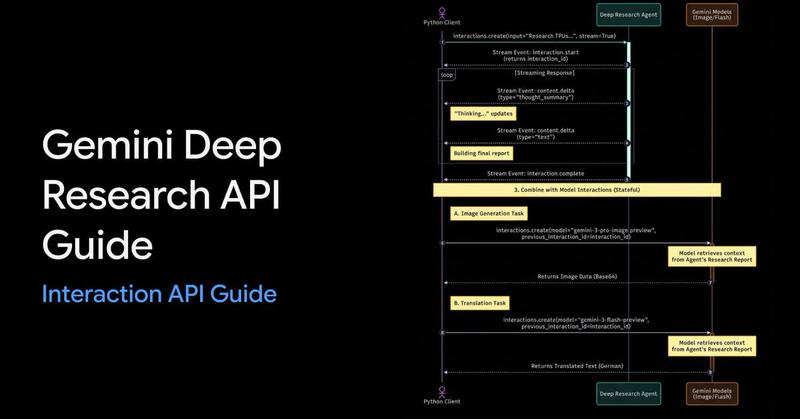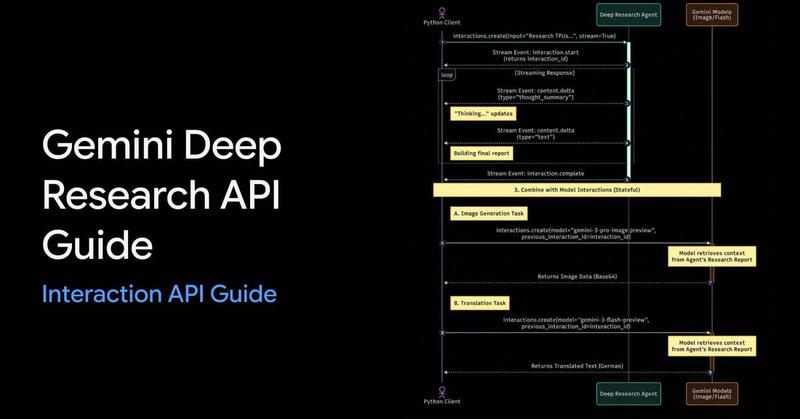
ComfyUI GPT 图像遮罩工作流
Prompt
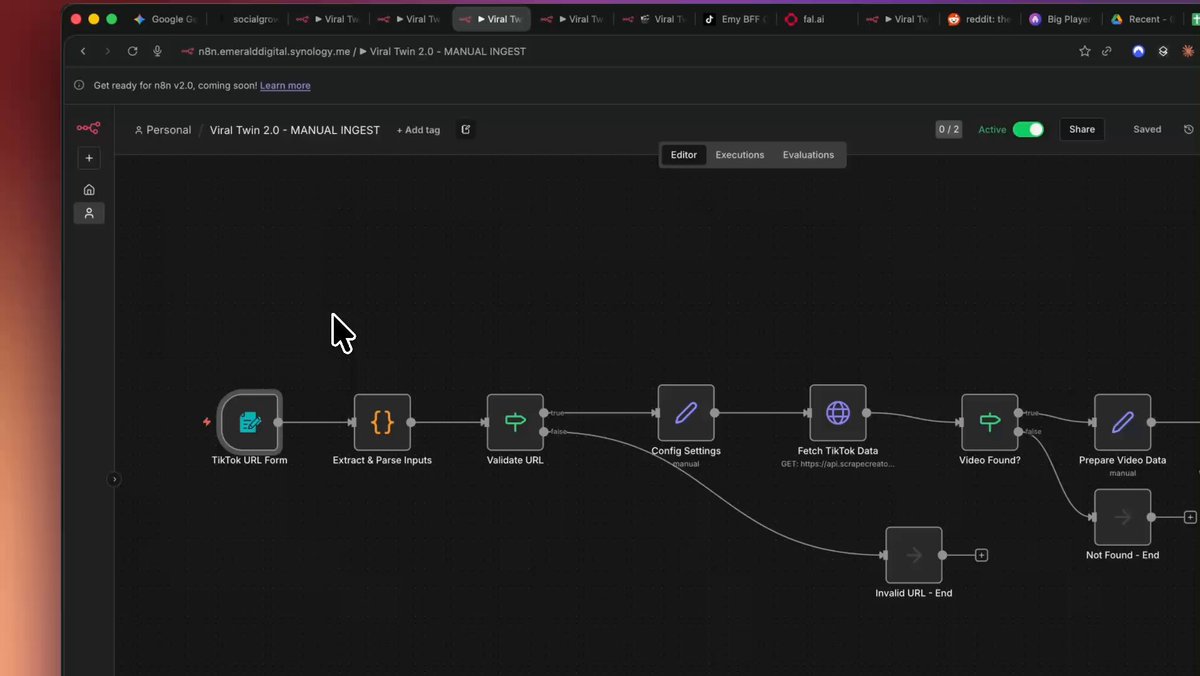
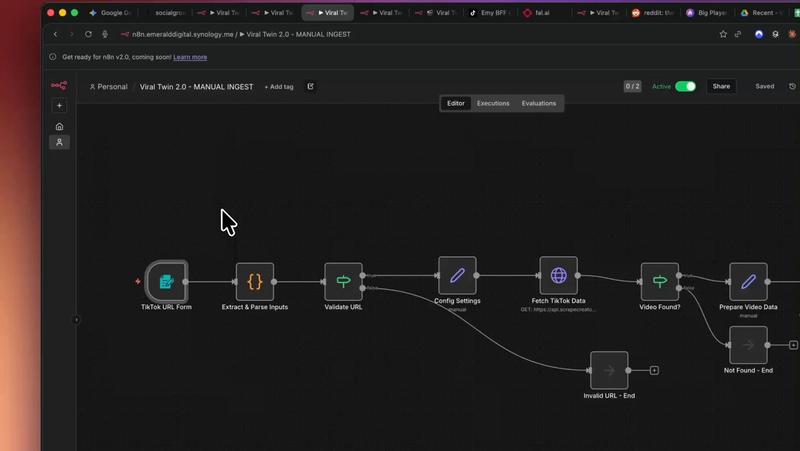
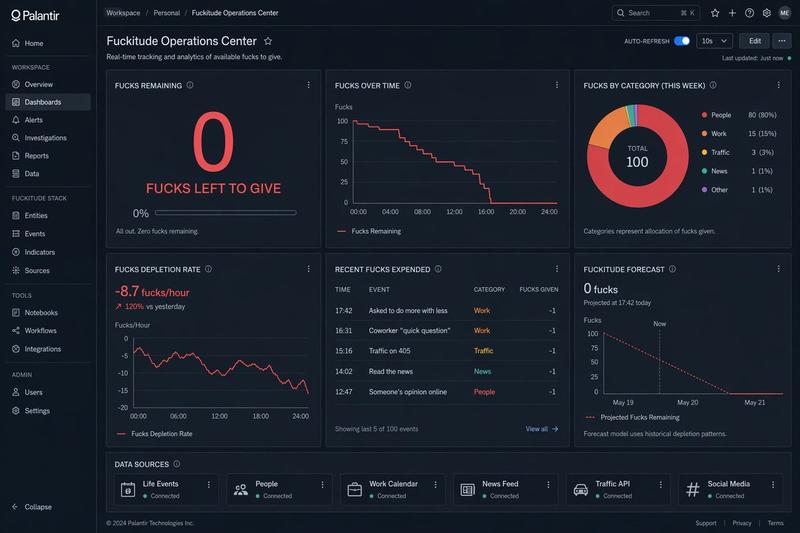
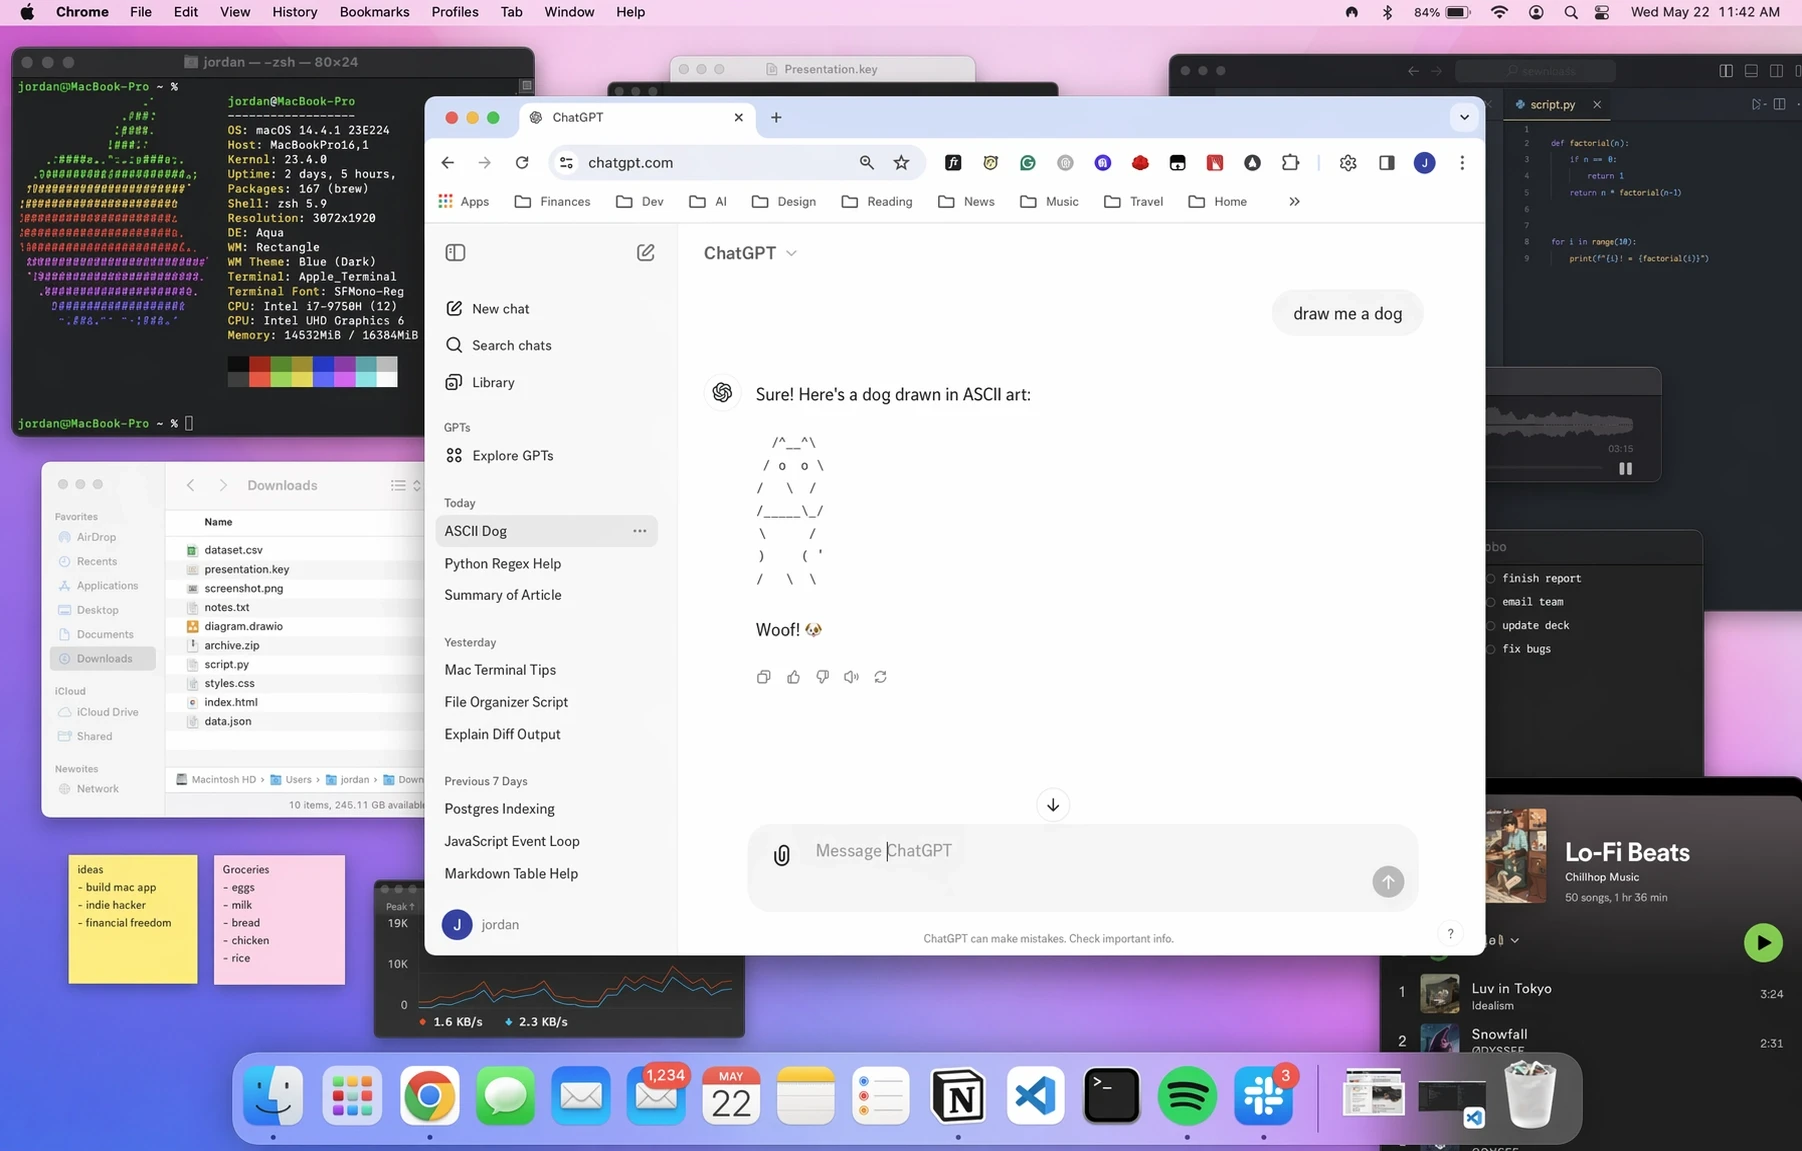
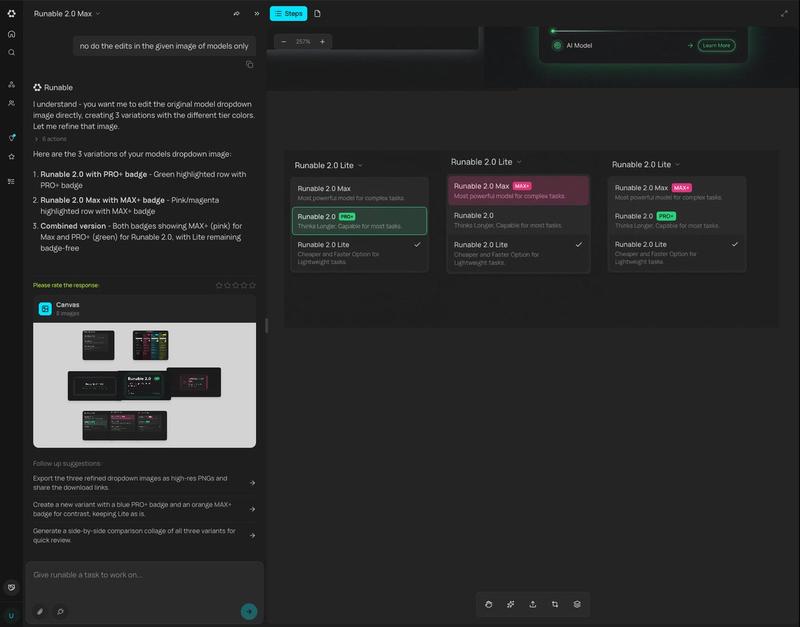
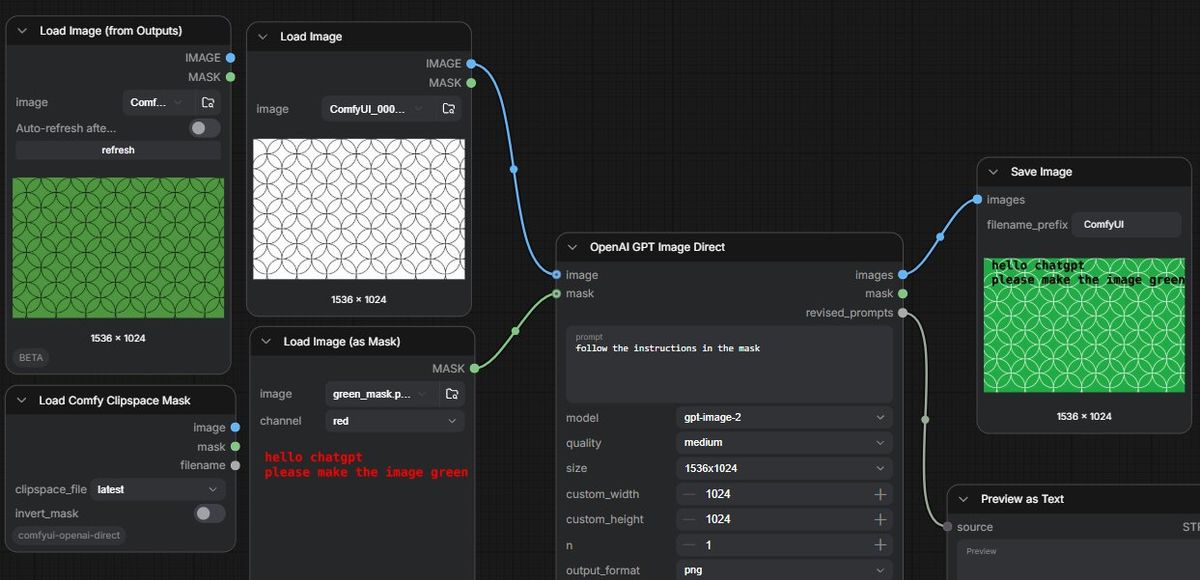
Goal: Create a widescreen screenshot-style image of a dark ComfyUI node graph demonstrating GPT image editing from a text instruction embedded in a mask.

Canvas: 1200×580 horizontal frame, dark charcoal grid background, cropped like a real workflow editor screenshot. Use crisp UI panels with rounded corners, subtle shadows, small sans-serif interface text, and colored connection cables.

Layout: Arrange exactly 7 visible workflow nodes from left to right across the canvas. Include 4 nodes on the left, 1 large central processing node, and 2 output/preview nodes on the right. Show blue image sockets and green mask sockets connected by curved wires.

Nodes and contents:
1. Top-left node titled “Load Image (from Outputs)”. It shows a green rectangular preview filled with a repeating circle/arc geometric pattern, size label “1536 × 1024”, and small controls including image selector, auto-refresh toggle, and refresh button.
2. Upper-middle-left node titled “Load Image”. It shows a white rectangular preview with thin black repeating overlapping circle pattern, size label “1536 × 1024”. Connect its blue IMAGE output to the central node image input.
3. Lower-middle-left node titled “Load Image (as Mask)”. It shows a dark preview with red pixel-like text reading “hello chatgpt” on the first line and “please make the image green” on the second line. The channel dropdown says “red”. Connect its green MASK output to the central node mask input.
4. Bottom-left node titled “Load Comfy Clipspace Mask”. Include controls labeled clipspace_file “latest” and invert_mask toggle, plus small image and mask sockets. This node is visible but not the main connection.
5. Center node titled “OpenAI GPT Image Direct”. It has inputs labeled image and mask; outputs labeled images, mask, and revised_prompts. The prompt textbox contains {argument name="instruction prompt" default="follow the instructions in the mask"}. Settings visible: model {argument name="model" default="gpt-image-2"}, quality {argument name="quality" default="medium"}, size {argument name="image size" default="1536x1024"}, custom_width 1024, custom_height 1024, n 1, output_format png. Connect its blue images output to Save Image, and its gray/green mask or revised prompt output down to Preview as Text.
6. Upper-right node titled “Save Image”. It shows filename_prefix “ComfyUI” and a result preview: the same circular pattern now colored bright green, with the black text instruction overlaid in the upper-left reading “hello chatgpt” and “please make the image green”; size label “1536 × 1024”.
7. Lower-right node titled “Preview as Text”, partially cropped at the bottom edge, connected from the central node’s revised_prompts output; show a small “source” label and a “Preview” area.

Visual style: Realistic UI screenshot, dark theme, subtle grid, rounded black-gray panels, white and gray interface labels, blue and green socket dots, curved blue/green connector lines. The generated image previews should look flat and procedural rather than photorealistic.

Constraints: Keep the exact workflow concept readable: a white patterned input image plus a mask containing text instructions produces a green patterned output. Do not add people, branding outside ComfyUI/OpenAI labels, extra nodes, or decorative elements.- Category
- UI & Interfaces
- Model
- GPT Image 2
- Creator
- gnostic snakes
- Source ID
- 24825
- Published
- Jun 8, 2026
Views10